Introduction: A Sweet Tradition Worth Starting
There’s something undeniably special about baking at home, isn’t there? The rhythm of kneading dough, the comforting aroma of cinnamon and chocolate filling the air, and the satisfaction of pulling warm, golden rolls out of the oven it’s a simple pleasure that connects us to tradition and love.
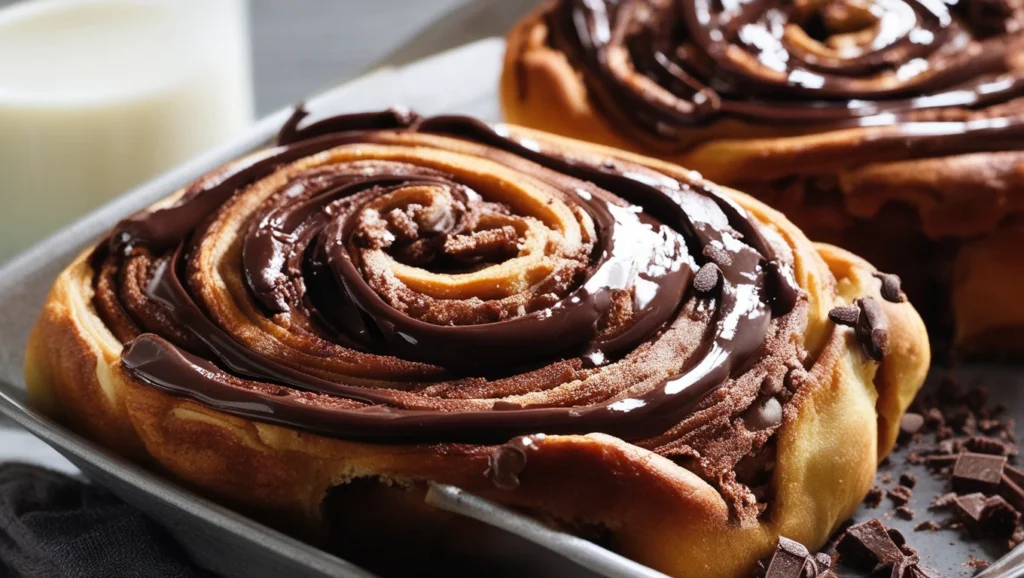
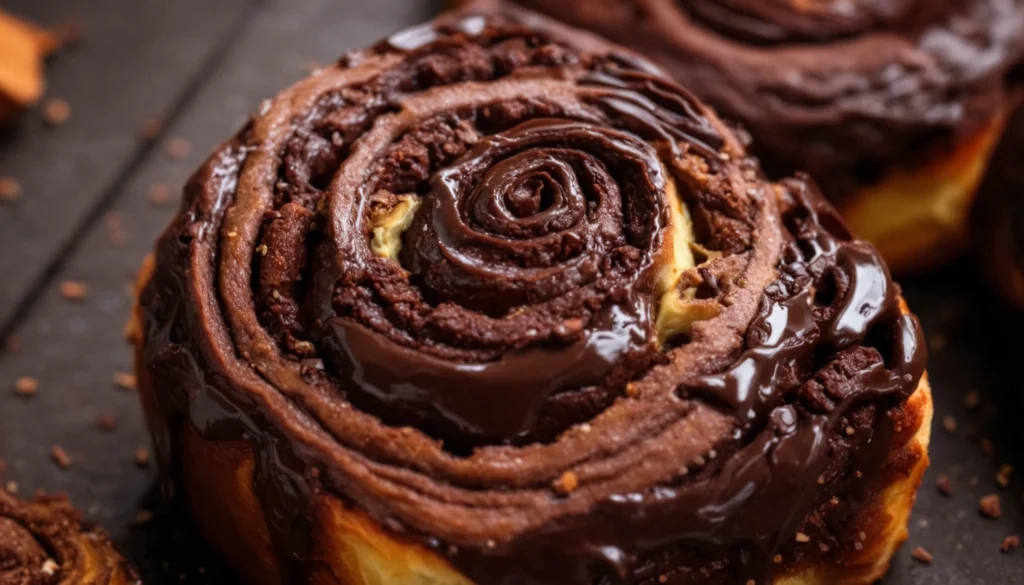
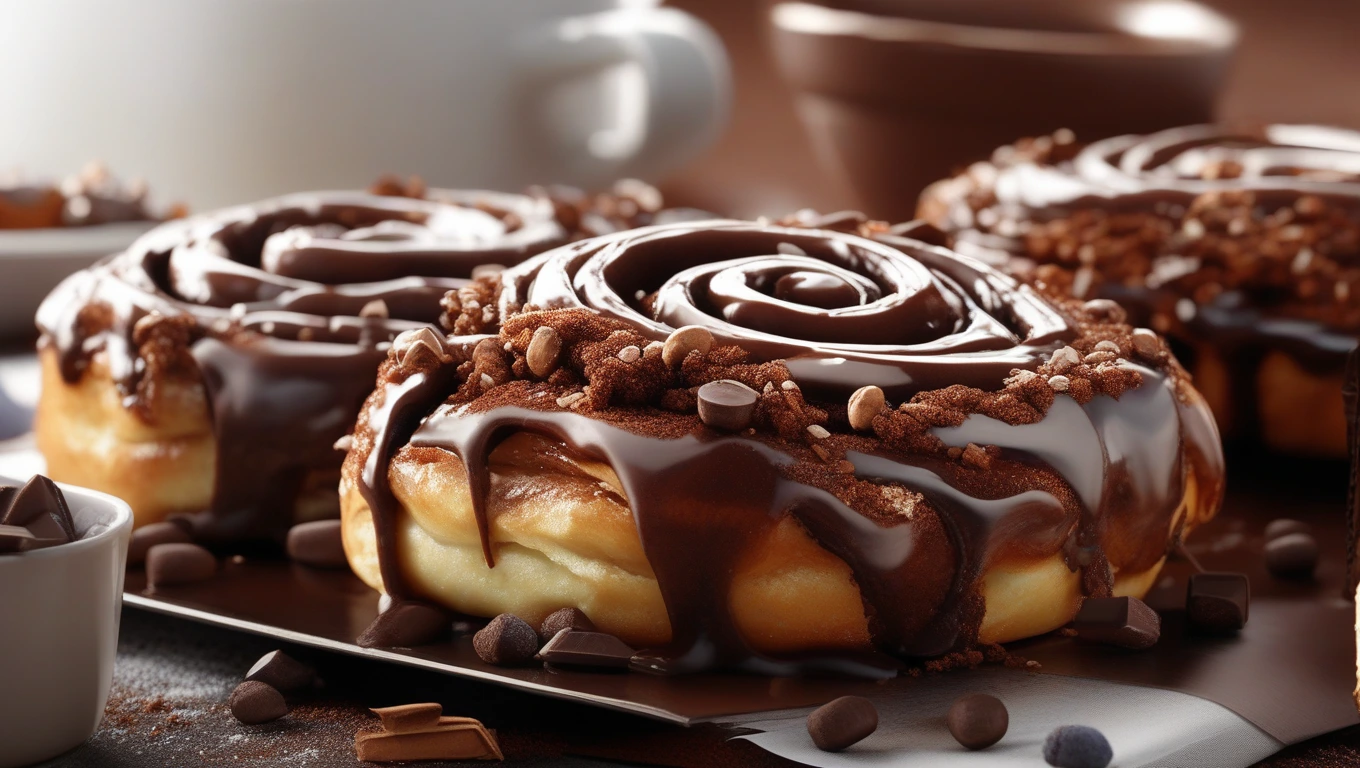
Chocolate cinnamon rolls take that magic a step further. Imagine sinking your teeth into a pillowy, gooey roll where the sweetness of chocolate intertwines perfectly with the spice of cinnamon. It’s a treat that feels like a warm hug, whether it’s enjoyed during a quiet breakfast or shared with loved ones on a festive morning.
Chocolate cinnamon rolls are more than a recipe they’re an experience. From preparing the dough to watching it rise, the process is a gentle reminder to slow down and savor the moment. In this guide, you’ll learn everything from crafting the softest dough to customizing your rolls with creative toppings. Let’s make your kitchen smell like love.

Why Chocolate Cinnamon Rolls Are a Must-Try
Chocolate cinnamon rolls are more than just a treat, they’re an experience. The first bite of these decadent rolls is an unforgettable moment warm, soft, and rich in flavor. Combining the comforting spice of cinnamon with the indulgent sweetness of chocolate, Chocolate cinnamon rolls creates the perfect balance of warmth and decadence. The cinnamon imparts a cozy, slightly spicy flavor, while the chocolate adds a layer of richness that elevates the dish to a whole new level. It’s a combination that feels both familiar and luxurious at the same time.
One of the best parts about chocolate cinnamon rolls is their versatility. These rolls aren’t just for breakfast, though they certainly shine as a morning indulgence alongside your favorite cup of coffee. They also make a delicious snack to enjoy in the afternoon or a fantastic dessert to cap off any meal. Imagine serving these as the finishing touch to a family dinner or bringing them to a brunch gathering with friends no one can resist their gooey, chocolate-filled goodness. Whether you’re enjoying Chocolate cinnamon rolls as a special treat or making them part of your regular routine, chocolate cinnamon rolls fit seamlessly into any time of day.
The History of Cinnamon Rolls with a Modern Twist
Cinnamon rolls have a rich history, deeply rooted in Scandinavian traditions. They originated in Sweden, where they are known as kanelbullar (cinnamon buns). These Swedish Chocolate cinnamon rolls date back to the early 20th century, but their origins likely trace to even earlier European baking traditions. In Sweden, cinnamon is a beloved spice, often used in various pastries and breads. The cinnamon roll was originally made as a simple yet indulgent treat, and over time, it became a staple in Swedish households, especially during holidays like Fika, a beloved Swedish coffee break tradition.
Chocolate cinnamon rolls is a modern twist that evolved as chocolate became more widely available and incorporated into baked goods. While traditional cinnamon rolls rely on a simple combination of butter, sugar, and cinnamon for the filling, the chocolate version adds an extra layer of richness. The chocolate blends perfectly with the cinnamon, creating a decadent treat that can serve as both a breakfast item and a dessert. This combination of flavors speaks to a global shift toward incorporating chocolate into many traditional recipes, elevating simple pastries into indulgent confections.
Cinnamon rolls have traveled the world, adapting to different cultures, and with every variation chocolate included they continue to win hearts and bellies worldwide.
Ingredients Breakdown for Chocolate Cinnamon Rolls
Creating the perfect chocolate cinnamon rolls requires carefully selected ingredients, each playing an essential role in achieving the perfect texture, flavor, and indulgent decadence. Let’s break down the key components of this delicious recipe, explore premium ingredient options for an upgraded experience, and provide substitutions for various dietary needs.
Premium Ingredient Suggestions
To elevate your chocolate cinnamon rolls, choosing premium ingredients can make a world of difference in flavor and texture. For instance, instead of regular butter, try using European-style butter, which has a higher fat content, resulting in a richer, creamier texture for your dough. When selecting chocolate, choose a high-quality dark chocolate with at least 70% cocoa content for a deep, intense flavor that pairs perfectly with the sweetness of the dough and the warmth of cinnamon. These small tweaks will take your rolls from good to extraordinary.
The Perfect Dough
To get that signature soft and fluffy texture, you’ll need these ingredients:
| Ingredient | Quantity | Notes |
|---|---|---|
| Bread flour | 3 cups | Ensures soft, airy rolls |
| Cocoa powder | 1/2 cup | Adds rich chocolate flavor |
| Granulated sugar | 1/2 cup | Sweetness for the dough |
| Milk (warm) | 1 cup | Activates the yeast |
| Dry active yeast | 1 packet | Helps dough rise perfectly |
| Butter (unsalted) | 1/4 cup | Adds richness |
| Eggs | 2 large | Binding and structure |
| Salt | 1/2 tsp | Balances sweetness |
The Irresistible Filling
This is where the magic happens:
| Ingredient | Quantity | Notes |
|---|---|---|
| Brown sugar | 1 cup | For a caramelized flavor |
| Cinnamon | 2 tbsp | Classic warmth |
| Butter (softened) | 1/2 cup | Spreads easily |
| Chocolate chips | 1 cup | Adds gooey richness |
The Creamy Topping
A luscious frosting is the cherry on top:
| Ingredient | Quantity | Notes |
|---|---|---|
| Cream cheese | 4 oz | For a tangy contrast |
| Powdered sugar | 1 cup | Sweet and smooth |
| Vanilla extract | 1 tsp | Enhances flavor |
| Cocoa powder | 2 tbsp | Optional, for extra depth |
By using these ingredient swaps or premium options, you can create a batch of chocolate cinnamon rolls that meet your dietary needs while still delivering the same beloved flavor and texture. Whether you’re baking for yourself or a group, these rolls are sure to impress and provide a moment of indulgence for everyone to enjoy!

Table of Contents
Step-by-Step Recipe Instructions for Chocolate Cinnamon Rolls
The act of making chocolate cinnamon rolls is nothing short of magical. As the dough rises, the cinnamon and chocolate meld together, creating a mouthwatering aroma that fills the house and entices everyone around. This indulgent treat isn’t just about the end result, but the joy of the process itself. Ready to bake the most delicious and soft rolls you’ve ever had? Let’s dive into the steps!
Step 1: Make the Dough
Instructions:
- Activate the Yeast:
Pour the warm milk into a mixing bowl, then add the sugar and sprinkle in the yeast. Let it sit for about 5 minutes. If the yeast doesn’t foam, it might be expired, or the milk could have been too hot or too cold, so check your ingredients. - Tip: The key to successful yeast activation is warmth! It should feel like a cozy bath for the yeast, around 110°F, not scalding.
- Combine Wet Ingredients:
Stir the melted butter, egg, and vanilla extract into the yeast mixture. Mix gently but thoroughly, ensuring that the butter has incorporated well. This mixture should feel rich and smooth when combined. - Add Flour and Knead:
In a separate bowl, mix the flour and salt together. Gradually add this flour mixture into the wet ingredients, stirring until a dough starts to form. When it’s no longer sticky, transfer it to a floured countertop and begin kneading. - Kneading Tip: You’ll want to knead the dough for about 8-10 minutes until it’s smooth and elastic.
Step 2: Roll Out the Dough
- Roll the Dough:
Once the dough has risen, punch it down to release the air and then transfer it to a floured surface. Roll it into a rectangle that’s about 16 inches long by 12 inches wide. The dough should be even, and if you feel it start to shrink back, let it rest for 5-10 minutes before continuing. - Spread the Filling:
Melt some butter and spread it generously over the surface of the dough. Next, sprinkle a mixture of cinnamon and sugar across the butter. You’ll also want to sprinkle in chunks of good-quality chocolate or chocolate chips, making sure they’re spread out evenly so that every roll gets a bite of the rich filling.Filling Tip: Use premium chocolate if you can—it melts beautifully and adds richness to every bite.
Step 3: Roll and Slice the Dough
- Roll the Dough:
Starting at one long edge, tightly roll the dough up, making sure not to leave any gaps. Keep the roll as tight as possible so that the filling stays inside. Once rolled, pinch the seam closed to prevent it from unraveling. - Slice into Rolls:
Using a sharp knife or unflavored dental floss, slice the dough into 12 equal pieces. Make sure the slices are about 1.5 inches wide. Arrange them in a greased 9×13-inch baking dish, leaving a little space between each roll so they can expand during the second rise.
Step 4: Second Rise
- Let the Rolls Rise Again:
Cover the pan of rolls with a towel or plastic wrap and allow them to rise for another 30-45 minutes. During this time, the rolls will expand and get even fluffier, ready for the oven.Baking Tip: Don’t rush this step—let them rise until they’ve puffed up nicely. If you press the dough gently, it should leave an imprint but not collapse.
Step 5: Baking Time
- Preheat the Oven:
Preheat your oven to 375°F (190°C), ensuring that it’s fully heated before you put the rolls in. - Bake the Rolls:
Place the rolls in the preheated oven and bake for 20-25 minutes, or until the tops are golden brown and slightly crispy. Baking Tip: The rolls should sound hollow when tapped on top. If you’re unsure, use a thermometer to check that the internal temperature has reached 190°F for fully cooked rolls.
Step 6: Frosting and Serving
- Make the Frosting:
While the rolls bake, whip up the frosting. Combine powdered sugar, softened cream cheese, and a dash of vanilla extract. Add a bit of milk to make the frosting spreadable but not too runny. - Frost the Rolls:
Once the rolls have cooled for about 10 minutes, spread the frosting generously on top of each one. As the frosting melts slightly into the warm rolls, it will create a decadent glaze that takes these rolls to the next level.Frosting Tip: For extra indulgence, add a little cocoa powder to the frosting for a chocolatey twist that complements the cinnamon and chocolate filling.
Troubleshooting Common Issues:
- Dough too sticky: If you notice the dough sticking to your hands or counter, add a little flour, but avoid overdoing it. A bit of stickiness can actually result in a more tender roll.
- Dough not rising: If your dough doesn’t rise, it could be due to inactive yeast, or the room may be too cold. Make sure your yeast is fresh and give the dough time to rise in a warm environment. You can even let it rise overnight in the refrigerator for a slow, flavorful ferment.
- Filling spills out: Make sure to roll the dough tightly and pinch the seams well. If using chocolate chunks, consider chopping them into smaller pieces to prevent them from slipping out as the dough bakes.
By following these steps, you’ll make irresistible chocolate cinnamon rolls that are soft, fluffy, and full of decadent chocolate flavor. Whether for breakfast, brunch, or dessert, chocolate cinnamon rolls will surely become a family favorite!
Serving Suggestions for Every Occasion
- Brunch Pairing: Serve with mimosas or a latte for a luxurious morning.
- Dessert Plate: Pair with vanilla ice cream or whipped cream for a decadent end to dinner.
- Special Occasions: These rolls make a thoughtful homemade gift for birthdays or holidays.
Storage, Freezing, and Reheating Your Chocolate Cinnamon Rolls
Storage Tips for Freshness:
To keep your freshly baked chocolate cinnamon rolls as delicious as when they first came out of the oven, proper storage is key. After baking, allow the rolls to cool completely, then store them in an airtight container at room temperature for up to 2 days. To maintain their moisture and softness, it’s best to individually wrap each roll in plastic wrap or parchment paper before placing them in the container. This extra layer helps lock in the freshness and prevents them from drying out.
If you’re a fan of gooey rolls, consider adding a piece of wax paper between the layers to keep them from sticking to each other.
Freezing for Later Enjoyment:
For those who want to enjoy their chocolate cinnamon rolls at a later time, freezing is a great option! You can freeze either unbaked or baked rolls.
- Unbaked Rolls:
After assembling the rolls, place them on a baking sheet, making sure they don’t touch, and freeze for about 2 hours or until solid. Once frozen, transfer them to a resealable freezer bag or container. They’ll stay fresh in the freezer for up to 2 months. When you’re ready to bake, no need to thaw them just place them directly in a preheated oven and bake as usual, adding 5-10 extra minutes to the baking time. - Baked Rolls:
Let the rolls cool completely, then wrap them tightly in plastic wrap and foil to protect them from freezer burn. Store the wrapped rolls in a freezer-safe container for up to 2 months. Freezing baked rolls ensures that you’ll have a sweet, comforting breakfast or dessert ready whenever you need it.
Reheating Instructions:
When you’re ready to enjoy your frozen chocolate cinnamon rolls, here’s how to bring them back to life:
- For Unbaked Rolls:
Simply place them on a baking sheet and bake from frozen at 375°F (190°C). They should bake for an extra 10-15 minutes, or until golden and fully cooked inside. This method preserves their fresh, soft texture. - For Baked Rolls:
To reheat, microwave individual rolls for 20-30 seconds. For a more even heat, you can wrap them in a damp paper towel before microwaving. Alternatively, for a slightly crispier result, reheat them in a 350°F (175°C) oven for 10 minutes. If desired, warm up the icing separately and drizzle it over the rolls before serving.
This simple yet effective storage, freezing, and reheating method allows you to enjoy fresh-tasting chocolate cinnamon rolls any time you crave them!
FAQ: Your Questions Answered
Can I Make These Rolls Ahead of Time?
Yes! Prepare the rolls up to the second rise and refrigerate overnight. Bake fresh the next morning.
What if I Don’t Have Yeast?
Unfortunately, yeast is crucial for achieving the fluffy texture. However, you could try quick-rise yeast for faster preparation.
Can I Freeze the Rolls?
Absolutely! Freeze the unbaked rolls, then thaw and bake when ready for fresh rolls anytime.
Conclusion: Bake Happiness, One Roll at a Time
Chocolate cinnamon rolls are more than just a treat they’re a moment of pure joy, wrapped in swirls of dough and chocolate. Whether you’re indulging solo or sharing with loved ones, they bring warmth and delight to any occasion.
So, gather your ingredients, clear your schedule, and dive into the process. Each step, from kneading the dough to savoring the first bite, is a celebration of creativity and comfort.
There’s no better way to treat yourself and your loved ones than with these irresistible homemade chocolate cinnamon rolls. Whether you’re planning a cozy breakfast or a sweet afternoon snack, these rolls are sure to make every moment a little more special. So why wait? Grab your ingredients, roll up your sleeves, and get ready to create something delicious from scratch. Share your creations with us, and let us know how these chocolate cinnamon rolls brought joy to your day!
